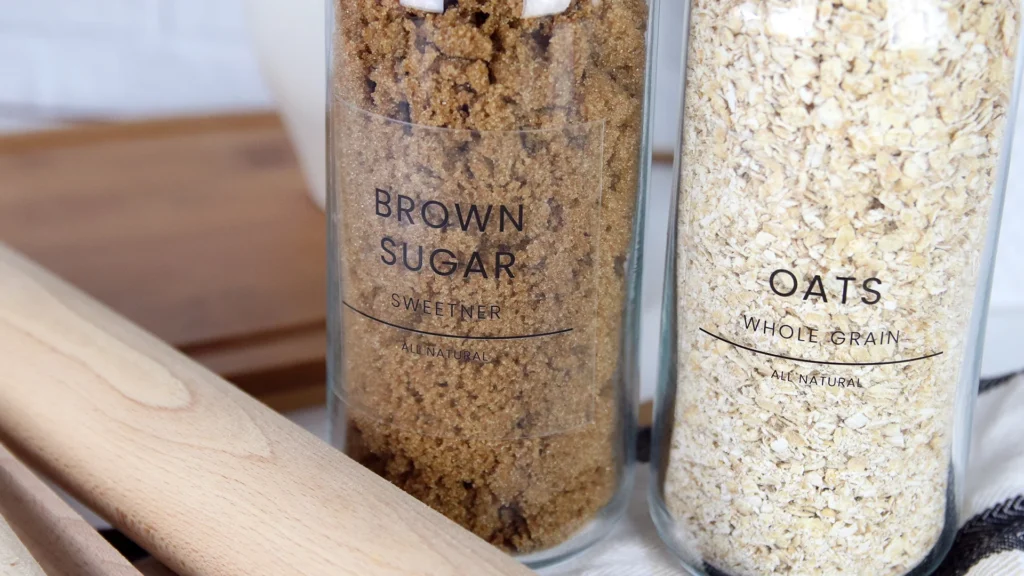
Clear labels look sleek and professional and can be used on any project from product packaging to decorative seals. At Printiverse.com we offer high quality clear labels in two finishes: gloss and matte. While both are versatile and look great, understanding the differences, designing for the material and applying them properly is key to getting the best results.
Clear Gloss vs. Clear Matte: Which One is Best for You?
When choosing clear labels your first decision will be whether to use gloss or matte. Both finishes have their own characteristics that make them suitable for different projects.
Clear Gloss Labels
Clear gloss labels are completely transparent, have a shiny finish. When applied to see-through surfaces like glass or plastic the non-printed areas blend in with the background creating a “no-label” look. This makes clear gloss labels perfect for applications where you want the focus to be on the product or the design rather than the label itself.
Clear Matte Labels
Unlike their gloss counterpart, clear matte labels are slightly translucent and have a frosted, non-reflective finish. This subtle look is perfect for a more understated, elegant look. Clear matte labels are great for projects that need a softer, less shiny look. They work well on lighter surfaces where their frosted finish can enhance the design.
When choosing between gloss and matte, think about the final look you want to achieve. Gloss is good for bold designs, matte is better for a refined look.
Designing for Clear Labels
Designing for clear labels requires some special considerations. Since there is no white background your design’s colors and placement will play a big role in how it looks once printed.
1. The White Ink Problem
Most commercial printers use a layer of white ink under the design to make it more opaque and vibrant. But many home printers can’t print white ink so your design might look more transparent than expected. To compensate focus on colors and elements that work well without a white background.
2. High-Contrast Colors
Dark, saturated colors show up best on clear labels. Light colors can look washed out or too transparent especially on dark surfaces. To make sure your design is visible go for bold colors and high-contrast elements.
3. Think About the Surface
The surface color and texture where the label will be applied has a big impact on the final look. Light colored or white surfaces make designs pop, dark surfaces can reduce visibility. Always test your design on the surface before printing in bulk.
4. Test and Refine
Before finalizing your design print a sample and apply it to the surface. This will allow you to adjust colors, opacity or placement to get the desired look.
How to Apply Clear Labels Like a Pro
Applying clear labels requires more care since dirt, fingerprints and bubbles are more visible on transparent materials. Follow these steps to get a clean and professional finish:
1. Prep the Surface
Start by cleaning the surface where you will apply the label. Remove any dust, dirt or residue, even tiny particles can show through the clear material. Let the surface dry completely before applying.
2. Handle with Care
Wash your hands to prevent oil or dirt from transferring to the label. Always handle the label by the edges to avoid smudges or fingerprints on the adhesive side.
3. Apply with Precision
Start applying the label from the center, smooth out towards the edges to remove air bubbles. Don’t press too hard as this can cause creases or smudges.
4. Let it Set
After applying the label let it sit for at least 24 hours. This allows the adhesive to fully bond and small bubbles to dissipate.
Wrapping Up
Clear labels are a great and stylish solution for your labeling needs but success depends on planning and execution. By understanding clear gloss and matte finishes, designing with contrast and surface in mind and applying labels with precision you can get professional results every time.
At Printiverse.com we offer high quality clear labels for all your needs. Check out our options today and take your projects to the next level!
More at Printiverse.com


