Printing a picture for a locket sounds simple until you try it. The space is tiny, sizes are never standard, and your first attempt is usually either too big or a blurry dot.
The good news: once you understand how to measure, resize, and print at the right scale, it’s very repeatable. In this guide I’ll walk through, step by step, how to print a picture for a locket at home or with an online photo service and actually get it to fit.
Understand your locket photo size
There is no universal “locket photo size.” Every locket has its own shape and inner opening, so you have to measure yours.
- Open the locket and look inside
Some lockets come with a paper insert. If yours has one, carefully pull it out. That piece of paper is basically a template. - Measure the visible area
Use a small ruler that shows millimeters. Measure only the visible photo area inside the metal rim, not the full outer size of the locket. Write down:- Width (mm)
- Height (mm)
- Note the shape
Common shapes:- Circle
- Oval
- Heart
- Rectangle or square
If there’s no insert, you can trace the opening onto thin paper (like printer paper or tracing paper) to create your own template. That template will be your cutting guide later.
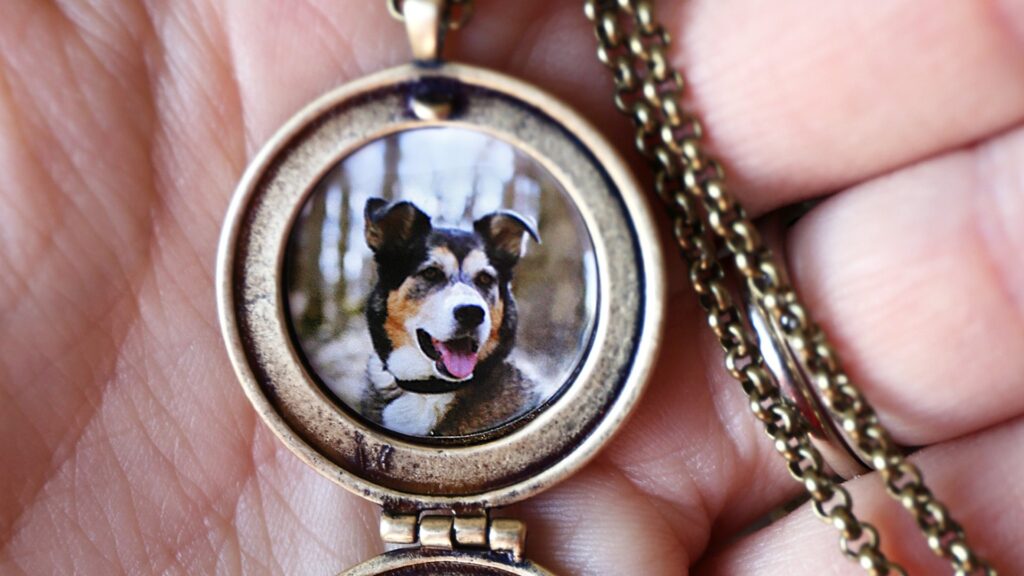
Choose the right photo for such a tiny space
Not every picture will work well when shrunk down to locket size. The smaller the print, the more important it is to keep things simple.
Good choices:
- One or two people, fairly close to the camera
- Clear faces, no harsh shadows
- Simple background (nothing too busy or cluttered)
- Sharp, in-focus image from a phone or digital camera
Things to avoid:
- Large group photos where faces are already tiny
- Dark, grainy images
- Heavy filters that muddy details
- Busy backgrounds that turn to visual noise when small
A quick test: zoom the photo on your phone until the face on screen is about the same size as the opening in your locket. If you can still clearly see eyes and expression, it should work.
Resize the image to match your locket
This is the most important step when you’re learning how to print a picture for a locket. You want the photo’s printed size to match the measurements you took.
Convert measurements if needed
Most software uses inches or centimeters. You can convert:
- 10 mm ≈ 1 cm
- 25.4 mm = 1 inch
Example:
If your locket opening is 20 mm wide, that’s about 2 cm or about 0.8 inches.
Resize on a computer (basic method)
You don’t need fancy software. The built-in image tools on Windows or Mac are usually enough.
On Windows (Photos or Paint):
- Open the photo.
- Crop it so the subject is centered and the shape roughly matches your locket.
- Look for a “Resize” or “Print” dialog where you can set the size.
- Enter the width and height that match your locket, in inches or cm.
- Make sure “maintain aspect ratio” is turned on, so the image doesn’t stretch weirdly.
On Mac (Preview):
- Open the image in Preview.
- Crop to your subject and roughly match the locket’s shape.
- Go to Tools → Adjust Size.
- Enter the width and height that match your locket.
- Save this as a copy so you keep the original full-size photo.
Use online tools made for locket photos
If resizing in software feels confusing, some online tools and mini-print services are built specifically for locket photos. They usually let you:
- Type in the exact width and height
- Choose the shape (circle, oval, heart, rectangle)
- See a preview of the crop in that shape
- Generate a 4×6 sheet with multiple tiny copies for printing
You can then print that sheet at home or send it to a lab.
Print a locket picture at home
If you have an inkjet printer, you can often get great results at home with the right paper and settings.
Pick the right paper
- Use real photo paper designed for inkjet printers.
- Glossy looks shiny and punchy.
- Matte or luster finishes are often better in a locket because they reduce glare and fingerprints.
Lay out multiple sizes on one sheet
Even with careful measuring, the first try can be slightly off. To save time:
- Create a simple document (Word, Pages, Google Docs, or a basic photo layout tool).
- Insert your resized image several times.
- Make slight size variations around your target — for example:
- 18 mm wide
- 20 mm wide
- 22 mm wide
On the page they’ll all look tiny, but when you print and cut them, you can test which one fits best.
Printer settings
When you print:
- Choose the correct paper type (photo, glossy, matte, etc.).
- Set quality to “High” or “Best.”
- Turn off any “fit to page” or scaling options. You want 100% scale so your measurements stay accurate.
Print one test page first. Let the ink dry fully before you start cutting.
Use a photo lab or online service
If you don’t own a good printer, or you just want lab-quality prints, you can use:
- Drugstore photo labs
- Big-box store photo centers
- Online mini-print or locket-photo services
A simple workflow:
- At home, create a 4×6 canvas and place several copies of your tiny photo on it.
- Save that as a single image file.
- Upload it to any place that prints normal 4×6 photos.
- Pick the finish you want (often matte or luster).
- When it arrives, cut out the tiny photos and test fit them in your locket.
Some specialty services let you enter your locket size directly, tile the photos for you, and mail the small sheet ready to trim.
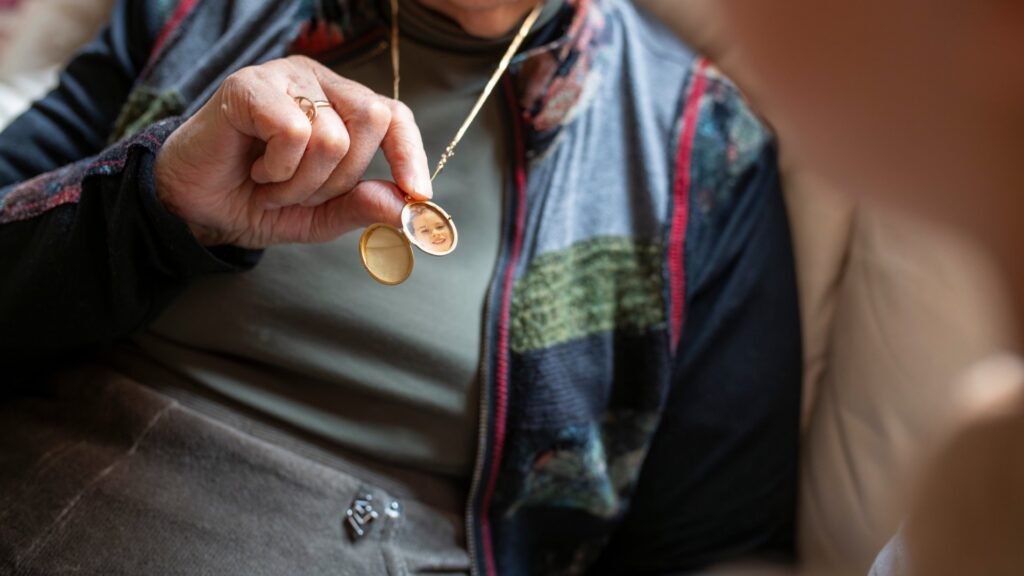
Trim and fit the photo into the locket
This is where the template and patience matter.
- Use the template
- If your locket had a paper insert, place it over one of your printed minis and lightly trace around it.
- If you made your own template, use that instead.
- Cut slightly outside the line
- Use very small, sharp scissors or a craft knife.
- Cut just outside your pencil line so the photo is a hair bigger than the opening. You can trim down, but you can’t add paper back.
- Test fit and adjust
- Place the photo in the locket.
- If it bends or buckles, trim a tiny sliver off one edge and test again.
- Repeat until it sits flat and snug.
- Secure the photo
- Many lockets have a metal rim or frame that holds the photo in place. Gently tuck the edges of the photo under that lip using your fingernail or a small tool.
- If the locket doesn’t hold it tightly, a tiny dab of glue stick or acid-free photo-safe adhesive on the back of the print is enough. Don’t overdo it.
Close the locket and open it again a few times to make sure the photo doesn’t shift.
Troubleshooting common problems
Photo looks fuzzy or pixelated
- Start with a higher-resolution image (original from your phone or camera, not a screenshot).
- Avoid zooming in too much on a small crop; if you’re enlarging a tiny section of a picture, it will soften.
Color looks very different from your screen
- Screens are backlit, paper is not, so prints often look a bit darker.
- Try bumping exposure/brightness slightly before printing.
- Turn off “auto enhance” or heavy correction in your printer driver if colors look odd.
Photo doesn’t fit even though you measured
- Double-check you measured only the visible opening, not the outer metal.
- Confirm your print settings didn’t scale the image (no “fit to page,” no custom scaling).
- Adjust by a millimeter or two and reprint a small test strip.
Once you’ve gone through the process once, you’ll have a template, a resized file, and maybe extra tiny prints ready to go. Replacing the photo later or making another locket becomes much easier.