
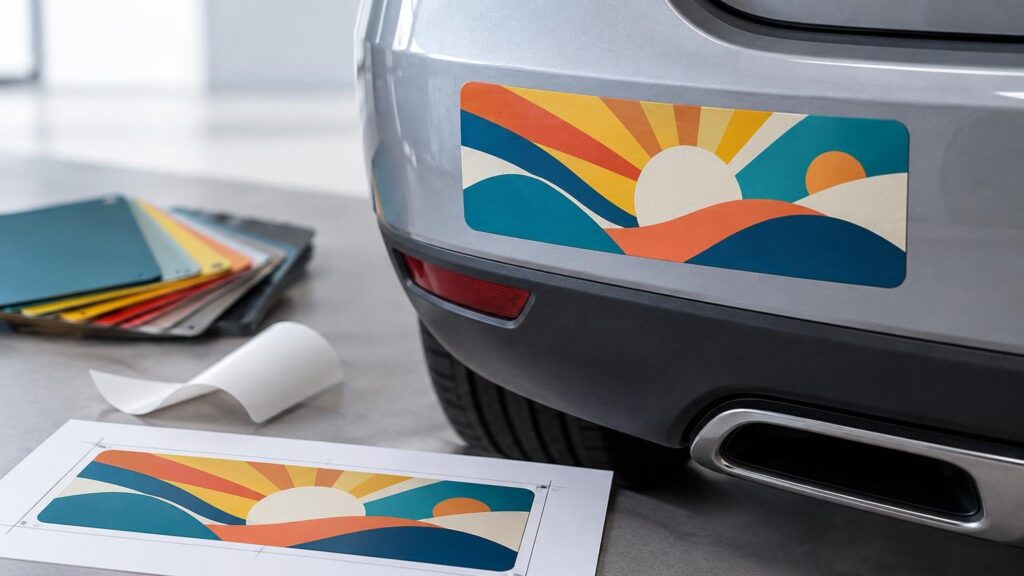
Ordering custom bumper stickers is straightforward once you settle six decisions: where the sticker will go, how large it should be, what finish you want, how the artwork should be prepared, how many you need and what must be checked on the proof. The durable default is printed vinyl protected by a laminate, but good material cannot rescue undersized lettering, an awkward cut shape or poor surface preparation.
Treat a bumper sticker as a small outdoor sign rather than an ordinary paper label. It has to remain legible at a distance, tolerate weather and road grime, adhere to a suitable surface and still look intentional on a vehicle. Those requirements should drive the design before you compare prices.
TLDR: Specify the application before ordering
For a conventional custom bumper sticker, choose laminated outdoor vinyl, use a simple shape, size the message for quick reading and upload vector artwork or a final-size 300 DPI raster file. Review the proof at the ordered dimensions, checking spelling, trim, cut path and safe margins. Apply the finished sticker only to a clean, dry, compatible surface, preferably a flat or gently curved area.
Quantity can determine the most practical ordering route. At the time checked, Printiverse’s dedicated bumper-sticker page began at 50 pieces, while CustomStickers offered single-unit ordering and several elongated standard sizes. A one-off test, small event or personal design therefore calls for a different quantity strategy than a campaign distributing hundreds of identical stickers.
Start with the surface, not the artwork
“Bumper sticker” is often used loosely. The graphic may actually be destined for painted bodywork, a window, a plastic bumper cover, a laptop or another smooth surface. Printiverse positions its bumper stickers for cars, trucks, windows and other smooth surfaces. That does not mean every vehicle surface is equally suitable.
Vehicle contours change application difficulty. The 3M vehicle-graphics application guidance identifies surface condition, cleaning, moisture, temperature, placement and vehicle contours as factors affecting application and longevity. It recommends beginning on flatter areas and warns that recesses, undersides, wheel wells and complex curves are more difficult and more prone to lifting.
A small printed bumper decal should not be confused with a conformable vehicle wrap. Purpose-built cast graphic films exist for compound curves, corrugations and rivets, but those are a different material category and production job. 3M’s example of a cast vehicle graphic film illustrates the distinction. If the design must flow through a deep recess or around a sharply curved panel, ask for a vehicle-graphics specification rather than assuming a standard bumper sticker will conform.
Choose the construction that matches outdoor use
The important distinction is not merely “paper versus vinyl.” Outdoor performance depends on the combined construction: printable face film, ink or toner system, adhesive and protective laminate. Printiverse describes its bumper stickers as premium vinyl with a UV-protective laminate intended to help protect the print from water, scratches and sunlight. Its broader sticker page gives its heavy-duty vinyl and laminate construction a five-year outdoor rating. These are provider specifications, not a guarantee that every applied sticker will last that long under every exposure.
| Decision | Choose this when | Buyer consequence |
|---|---|---|
| Gloss finish | You want stronger shine and visual punch | Reflections can increase, but saturated graphics often appear more vivid |
| Matte finish | You want restrained glare and a softer surface appearance | Text may be easier to view under some lighting, while colors can look less glossy |
| Simple rectangle or oval | The message is the priority | Easy to size, cut, align and apply |
| Custom contour | The silhouette contributes to the design | Cut-path tolerances and narrow projections require more attention |
| Standard bumper decal | The placement is flat or gently curved | Simpler application and lower risk of edge lift |
| Specialty vehicle graphic | The placement includes deep channels or compound curves | Requires a film and installation method designed for conformability |
Matte versus gloss is mainly an appearance and glare decision; it is not a substitute for confirming the underlying vinyl and laminate. Printiverse’s checked bumper-sticker configuration offered both finishes. When comparing vendors, normalize the quote: the same dimensions, quantity, laminate, finish and shipping basis. A low price for an unlaminated indoor sticker is not a meaningful comparison with a laminated outdoor product.
Pick dimensions for viewing distance and message length
A bumper sticker has very little time to communicate. A short statement in large type can work at a modest size. A paragraph, detailed illustration or collection of social handles cannot. Before ordering, print the design on office paper at actual size, tape it in the intended position and step back. If the core message disappears, enlarging the sticker or simplifying the design will help more than increasing file resolution.
At the time checked, Printiverse listed 2×2, 3×3, 4×4 and 5×5-inch presets, along with custom width and height fields from 1 to 10 inches. Those square options suit logos and compact graphics. Traditional slogan-style bumper stickers often use a wider horizontal format. CustomStickers listed 7.5×3.75, 11.5×3 and 15×3.75-inch standard choices when researched. Product options can change, so confirm the live configurator before finalizing artwork.
Do not place a tiny logo in the center of a large canvas merely because the product is called a bumper sticker. Size the visual hierarchy deliberately: one primary message, one supporting identifier if necessary and enough empty space to keep the composition readable.
Prepare artwork at final production size
Vector files are the safest choice for logos, lettering, line art and simple shapes because they can be resized without turning edges into visible pixels. Printiverse’s Artwork & File Setup Guide lists PDF, AI, EPS and SVG as common vector formats. It recommends that raster images be prepared at final size and at least 300 DPI; correctly sized PNG, PSD, TIFF and JPG files can also work.
Final size matters. A 300 DPI image that measures one inch wide contains only enough image data for that physical width at the specified resolution. Stretching it to ten inches does not preserve 300 DPI. The effective resolution falls as the image is enlarged.
Allow for bleed, trim and safe area
Artwork that runs to the edge usually needs bleed beyond the intended cut. Printiverse describes 0.125 inch of bleed and safe margin on each side as a common starting point for flat printed pieces, while directing buyers to use a product-specific template or proof if it differs. Important text, logos, faces and QR codes should remain inside the safe area.
Bleed and safe area solve different problems. Bleed gives production some extra printed image outside the cut, preventing an unintended white sliver when normal cutting variation occurs. Safe area pulls critical content inward so the same variation does not clip it.
Keep the cut path manufacturable
Most buyers do not need to draw a technical sticker cut line if proofing is included. Printiverse says its team can establish the cut path, although thin spikes, isolated elements and excessively complex edges may need simplification. For more detail on why those contours affect tolerance and cost, see the guide to die cutting in commercial printing.
A contour cut should support the design rather than trace every pixel. Tiny notches and hair-thin protrusions create fragile edges, make the sticker harder to peel and leave less room for cutting variation. A smoother silhouette is usually the more durable production decision.
Treat the proof as a production checkpoint
The proof is where the order becomes concrete. Inspect the stated finished dimensions, orientation, spelling, image placement, bleed, safe area and cut path. Printiverse says proofs can be used to review those features, but a digital proof is not a physical simulation of color or finish. It also notes that minor trim and alignment variation is normal in production.
Review the proof at two scales. First, zoom in to find spelling errors, stray objects and awkward cut-path details. Then display or print it close to the ordered size. The second view catches the more common bumper-sticker failure: a technically sharp design that nobody can read from a practical distance.
- Confirm that the dimensions shown on the proof match the intended physical size.
- Read every word rather than recognizing the sentence from memory.
- Check that critical content remains comfortably inside the cut path.
- Inspect the background at every edge to confirm adequate bleed.
- Verify the requested matte or gloss finish and the ordered quantity.
- Confirm whether the proof represents individual stickers, a sheet or another delivery format.
- Approve only after all requested revisions appear in the updated proof.
Proof timing can affect the schedule. Printiverse says it automatically sends bumper-sticker proofs except on next-day orders. Its page also says an unanswered proof can move into printing and shipping after three days, while standard orders are typically processed, printed and shipped within three business days after proof approval. Delivery then depends on the checkout shipping service. Because production and transit are separate stages, build both into an event deadline and recheck the current terms before ordering.
Order a quantity that fits the risk
The first run carries design risk. You may discover that the size feels wrong on the vehicle, the matte or gloss finish behaves differently than expected, or the slogan is less readable in context. A small initial order limits that exposure. A larger run becomes more sensible after the design, dimensions and application surface are settled.
Printiverse’s dedicated bumper-sticker page presented quantities beginning at 50 when checked, even though its general custom-sticker page described no minimum quantity. The product-specific bumper-sticker configuration is the more relevant source for that order. Buyers who need a single sample or very small batch can consider CustomStickers for custom vinyl stickers and labels, whose checked bumper-sticker offering allowed single-unit ordering.
Compare total delivered cost rather than the headline unit price. Include setup or artwork charges, proof revisions, shipping, rush service and the financial consequence of unused inventory. For a campaign distributed across several locations, also decide whether all stickers should ship together or whether later packing and distribution will become a separate operational cost.
Apply the sticker without undermining the print job
Adhesion depends heavily on surface preparation. 3M advises cleaning vehicle substrates immediately before application, drying them thoroughly and keeping them free of dust and contaminants. Its guidance says wax can significantly reduce adhesion, while trapped moisture can produce bubbles and premature failure.
Professional vehicle preparation may include washing with detergent and water, drying with clean lint-free towels and removing wax residue with an appropriate paint-safe cleaner before promptly applying the graphic. Follow the sticker supplier’s instructions and the vehicle manufacturer’s surface-care guidance; do not assume that every solvent is safe for every paint, plastic or coating.
For basic customer application, Printiverse advises starting with a clean, dry surface, positioning the sticker carefully and smoothing from the center outward to reduce trapped air. Avoid bridging the sticker over seams, trim transitions or deep contours. If removable adhesive matters, verify that specification before ordering, and remember that “removable” does not answer every question about long-term residue, paint condition or exposure history.
A final ordering specification
A practical order brief can be one sentence: “Print this design at the confirmed finished size on outdoor vinyl with protective laminate, using the selected matte or gloss finish, with the cut path shown on a proof before production.” Attach final-size vector artwork where possible, state the intended vehicle surface and ask about any uncertainty involving curves, removable adhesive or long-term outdoor exposure.
The best bumper-sticker order is not the one with the most complicated shape or the lowest displayed price. It is the one whose material suits outdoor exposure, whose message works at the actual size, whose proof reflects the intended cut and whose quantity matches your confidence in the design. Settle those details before approval, then prepare the surface as carefully as you prepared the file.
References
- Bumper Stickers – Printiverse
- Custom Bumper Stickers | Durable & High Quality | Car Stickers – CustomStickers.com
- Application: Vehicles
- 3M™ Scotchcal™ Graphic Film 8000LF-12, Black, Configurable | 3M United States
- Custom Stickers – Printiverse
- Artwork & File Setup Guide – Printiverse
- Proofing & Approval Process – Printiverse