
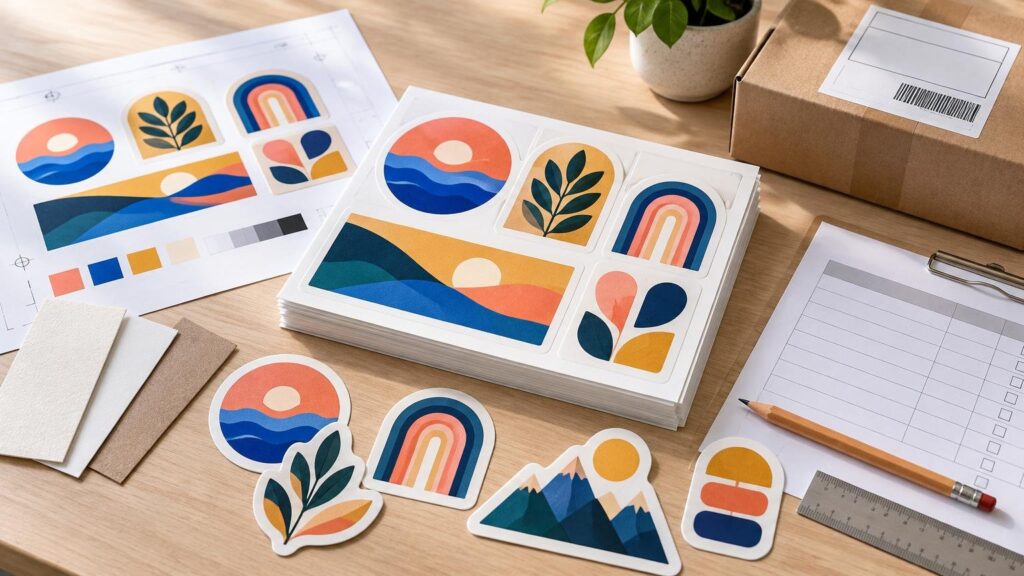
A practical starting budget for business stickers is about $40 to $100 for a straightforward first order. That should usually cover a modest batch of one design while leaving some room for shipping, tax or a small artwork expense. A packaging launch with several designs, specialty materials, physical proofs or rush delivery can easily require $100 to $300 or more.
Those figures are planning allowances, not universal quotes. Sticker price changes with dimensions, quantity, material, finish, shape, artwork condition and delivery requirements. The useful question is not merely what the checkout subtotal says. It is what each usable, delivered sticker costs and whether the order is large enough to perform its intended job.
TLDR: What should a business budget?
| Order objective | Planning allowance | What the allowance is meant to cover |
|---|---|---|
| Test a design or material | $15–$40 | A sample offer or very small order, with limited room for extras |
| Start with one practical design | $40–$100 | A modest production batch plus a buffer for tax, shipping or minor file work |
| Launch a small sticker program | $100–$300+ | Multiple designs, larger quantities, specialty formats, proofs or expedited delivery |
Treat these as budgeting bands rather than advertised prices. As one concrete reference point, a checked CustomStickers.com configuration listed 50 two-inch custom vinyl stickers for $30.99 before any tax or shipping not included in that price. That works out to approximately $0.62 per sticker. The same retailer listed a category starting price of $10.99 and a limited sample offer, but configurations, eligibility and terms can change. Businesses comparing another live ordering route can also review CustomStickers for custom stickers, labels, vinyl materials, and artwork preparation.
Build the budget from the full cost stack
Printing is only the first line of the sticker budget. A sensible estimate includes artwork preparation, proofing, samples, delivery, tax and expected waste. If employees will apply hundreds of labels by hand, application labor may matter more than a small difference in the printed unit price.
Use this basic calculation: landed order cost equals printing, plus artwork, plus paid samples or proofs, plus shipping and tax. Divide that total by the number of usable stickers received. For a packaging application, add the labor and waste associated with applying them if those costs are material to the decision.
- Printing: the configured price for the selected size, quantity, material and format.
- Artwork: design, cleanup, resizing or rebuilding low-quality graphics when necessary.
- Proofing and samples: digital proofs may be included, while physical proofs can carry a fee.
- Freight and tax: costs that may not be fully visible until checkout.
- Waste: stickers used for setup, testing, damaged packages or application mistakes.
- Internal labor: time spent reviewing proofs, managing versions and applying stickers.
Keep startup work separate from repeat-order cost. A logo cleanup or packaging template may be a one-time expense, while sticker printing and application are recurring expenses. The U.S. Small Business Administration’s planning guidance similarly advises businesses to distinguish one-time and ongoing costs and account for printed marketing materials when estimating startup needs.
The five decisions that change sticker pricing most
1. Finished size
Sticker dimensions affect how much material each piece consumes and how efficiently pieces can be arranged on a production sheet or roll. Increasing both width and height is more consequential than adding the same amount to only one dimension because the printed area grows in two directions.
Start with the application surface, not a size that merely looks attractive on screen. Printiverse’s small-business guidance treats roughly 1.5- to 2-inch round stickers as a practical everyday-logo range and about three inches as a possible starting point for giveaways. Those are use-case suggestions, not industry standards. Packaging labels should be measured against the actual flat label panel, especially on jars, bottles and tapered containers.
2. Quantity
A larger order often lowers the printed cost per piece because file handling, proofing and production setup are spread over more units. But a lower unit price does not automatically make the order cheaper for the business. Five hundred outdated stickers cost more than a smaller batch that gets used.
For a new logo, package or offer, buy enough to test real use without creating months of obsolete inventory. Once the design and demand are stable, compare the total delivered price at several quantity breaks. Calculate how long each quantity will last and whether the savings justify tying up more cash.
3. Material and visual format
Standard laminated vinyl is a sensible baseline for many general business uses. Clear stickers let the application surface remain part of the design, while holographic material creates a more prominent reflective effect. Sticker sheets combine multiple smaller graphics on one sheet. Printiverse separates these formats because they solve different production and merchandising problems.
Do not pay for a specialty effect without deciding what it contributes. Clear material can make packaging feel integrated, but transparent areas also expose the color and texture beneath the sticker. Holographic material can command attention, although it may compete with small text or a tightly controlled brand palette. Sheets are useful when several designs belong together or when individual small pieces would be awkward to distribute.
The custom sticker format overview provides a practical place to compare vinyl, clear, holographic and sheet-based options before requesting quotes.
4. Shape and cutting
A circle, square or rectangle is normally easy to specify. A contour-cut logo requires an accurate cut path and enough tolerance between the cut edge and important artwork. Intricate projections, narrow gaps and tiny interior details can make production or peeling less forgiving.
Many ordering workflows can prepare the cut line during proofing, so a buyer does not necessarily need to create one. The larger responsibility is to inspect the proposed contour and make sure text, borders and recognizable logo details are not crowded against it. For deeper production context, see the guide to die cutting, digital cutting and tolerances.
5. Artwork condition
Clean artwork keeps the first order close to its quoted print cost. Files that require logo reconstruction, missing-font correction, background removal or layout changes add time and may add a design charge.
Printiverse’s artwork guidance recommends preparing raster artwork at final size and generally at 300 DPI, including bleed for graphics that reach the edge and keeping text and logos inside a safe area. Vector files are generally preferable for logos, text and line art because they can be resized without raster pixelation.
If the business has only a screenshot or a small web image, budget for proper artwork preparation rather than assuming the printer can create missing detail. Printiverse states that customers can upload finished artwork, use templates where available or request upfront-priced design assistance, although it does not publish one universal design-service price.
A realistic first-order calculation
Consider the observed price of $30.99 for 50 two-inch vinyl stickers. The initial printed unit cost is $30.99 divided by 50, or approximately $0.62. That is not yet the landed unit cost because tax, delivery and any artwork work still need to be added.
Suppose the business uses five stickers for adhesion checks, package mockups and photography, leaving 45 for saleable packages. Even before adding other charges, the effective cost becomes about $0.69 per sticker: $30.99 divided by 45. This does not mean every order loses 10% to testing. It shows why the denominator should be usable pieces rather than the quantity printed.
The same distinction matters when stickers are giveaways. If 50 stickers cost $30.99 before other charges, the business is committing at least $0.62 in print cost each time one is handed out. That may be perfectly reasonable for an event or customer insert, but it should be recorded as marketing expense rather than treated as free merchandise.
Proofing protects more money than it costs in time
A proof is the last economical place to catch the wrong phone number, an outdated QR destination, a misspelled product name or an unexpectedly tight cut. Printiverse states that proofed orders receive a digital proof and production starts after final approval. The proof can help verify content, layout, size and trim guidance, but it is not an exact physical simulation of color or material.
Review the proof at the stated finished dimensions. Confirm the spelling, contact details, orientation, quantity, cut shape, bleed and safe area. Scan every QR code from the proof, then test it again on a full-size paper mockup attached to the actual package. Curvature, glare, low contrast and insufficient clear space can make a code harder to use even when it worked on a desktop monitor.
A physical proof or sample is worth considering when the sticker is part of retail packaging, must fit a shaped container, uses transparency or depends heavily on material appearance. Printiverse says physical proofs are available for a small fee on supported orders and that sample packs may be available on request; exact cost and timing are confirmed by order.
Do not confuse production time with delivery time
A cheap order that arrives after an event is not cheap. Production begins only after usable files, complete order details and required proof approval are in place. Printiverse distinguishes production time from carrier transit and notes that quantity, customization, finishing, file problems, approval timing and seasonal volume can affect the schedule. Its stated three-business-day timing is a production target, not an in-hand delivery guarantee.
When comparing quotes, record the proof deadline, estimated production period, shipping method and required arrival date separately. Leave time to inspect the shipment and correct a problem. Rush production and expedited freight should be contingency tools, not the default workflow for every reorder.
Where to save and where to spend more
| Decision | Usually safe place to economize | Reason to spend more |
|---|---|---|
| Quantity | Start with a controlled batch while the design is new | Increase quantity after usage and artwork are stable |
| Artwork | Use a clean existing vector logo and simple layout | Pay for reconstruction when the available file is unsuitable |
| Material | Use standard vinyl when it meets the application | Choose clear, holographic or another specialty format for a defined visual purpose |
| Proofing | Use the included digital proof for a familiar repeat job | Request a physical proof for fit-critical packaging or material-sensitive color |
| Delivery | Plan early enough for standard production and transit | Expedite only when the deadline justifies the added cost |
The wrong place to economize is fit. A sticker that wrinkles around a curved bottle, covers required information or fails to leave room for a QR code is not a bargain. Measure the real object and tape a full-size paper print to it before approving a larger run.
First-order checklist
- Define whether the sticker is packaging, a seal, a giveaway, a safety or information label, or a promotional insert.
- Measure the usable application area on the actual product, container or mailer.
- Choose one baseline format and request prices at two or three useful quantities.
- Prepare final-size artwork with adequate resolution, bleed and safe space.
- Add artwork, proof, shipping, tax and expected waste to the print subtotal.
- Calculate cost per usable sticker rather than relying only on the advertised unit price.
- Inspect every proof detail and test QR codes, small text and the proposed cut shape.
- Separate the production deadline from carrier transit and set an earlier internal approval deadline.
- Save the approved artwork, dimensions, material and order specifications for consistent reordering.
The practical starting point
For one finished design in a standard format, reserve roughly $40 to $100 and compare the delivered cost at a few sensible quantities. Spend more only when a larger run, specialty material, physical proof or artwork service solves a defined business requirement.
Before placing the order, write down four specifications: finished size, material, quantity and required arrival date. Then calculate the landed cost per usable sticker. That simple discipline turns a low checkout price into a commercial-print decision the business can repeat, measure and improve.
References
- Custom Vinyl Stickers | Waterproof and Durable – CustomStickers.com
- Plan your business – Small Business Administration
- Sticker Size Guide for Small Businesses: What Works (and What Usually Goes Wrong) – Printiverse
- Custom Stickers – Printiverse
- Artwork & File Setup Guide – Printiverse
- Proofing & Approval Process – Printiverse
- Samples And Physical Proofs – Printiverse
- Shipping Policy – Printiverse
- Printiverse – Custom Print Products | Stickers, Invitations & Cards