
TLDR
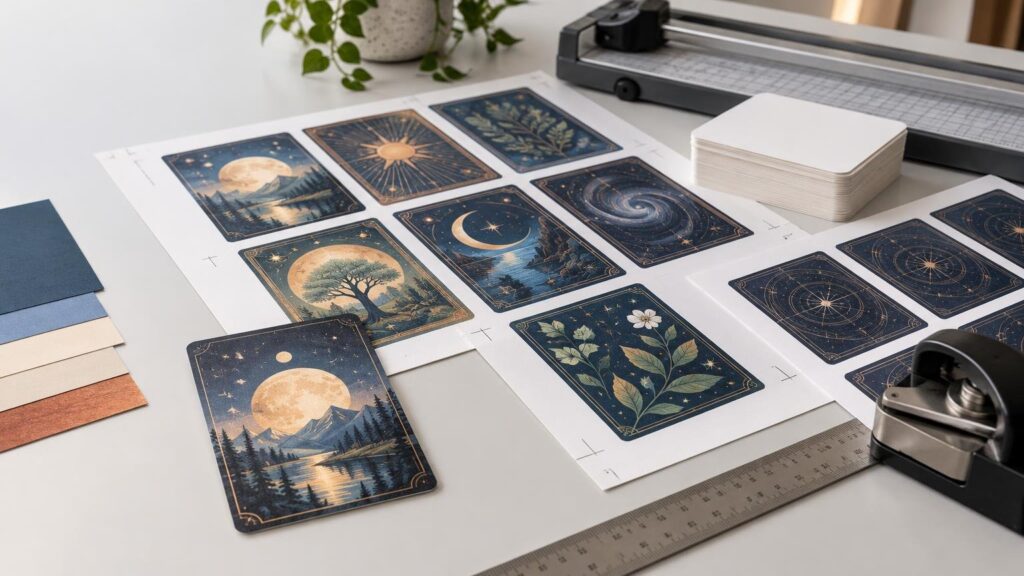
Build each card at a 2.5 × 3.5-inch finished size and 300 ppi. That equals 750 × 1,050 pixels. For artwork that reaches the edge, add 0.125 inch of bleed on every side, making the file 2.75 × 3.75 inches or 825 × 1,125 pixels. Print at 100% or actual size, use paper approved for your printer, expect imperfect duplex alignment, and trim from crop marks rather than the edge of the artwork.
Home printing works best for casual playtest cards, tokens, prototypes, and small batches. It becomes less attractive when you need consistent cutting, opaque card construction, reliable front-to-back registration, or many copies. At that point, professionally produced MTG playtest cards and related card printing may remove more labor than the printer price alone suggests.
Use the right finished size
Magic’s Comprehensive Rules describe a traditional card as approximately 2.5 × 3.5 inches, or 6.3 × 8.8 centimeters. The Magic Comprehensive Rules use approximate dimensions rather than defining a production tolerance for homemade cards.
That qualification matters. The common US poker or trading-card convention is 2.5 × 3.5 inches, equivalent to 63.5 × 88.9 mm, while some metric templates use 63 × 88 mm. Pick one specification and keep it consistent across the artwork, imposition sheet, crop marks, and cutter. Do not resize individual cards by eye just because two templates look nearly identical.
| File setup | Width × height | Pixels at 300 ppi | Use |
|---|---|---|---|
| Finished card | 2.5 × 3.5 in | 750 × 1,050 px | Artwork without edge-to-edge printing |
| Card with 0.125 in bleed | 2.75 × 3.75 in | 825 × 1,125 px | Artwork intended to be trimmed to the edge |
| Safe area | Inside the trim line | Keep critical details at least 0.125 in inward | Rules text, names, icons, and other essential content |
Adobe identifies 300 ppi as a standard target for high-quality printing viewed at close range and distinguishes image resolution in ppi from a printer’s hardware resolution in dpi. More printer dpi does not repair a small, low-resolution source image. Adobe’s print-resolution guidance explains that distinction.
Bleed and safe area solve different problems
Bleed extends the background past the intended cut. The safe area pulls important content inward. With a 0.125-inch bleed, a 2.5 × 3.5-inch card becomes a 2.75 × 3.75-inch art box. The extra image is supposed to be cut away; it is not part of the finished card.
Keep names, rules text, mana symbols, frame details, and other critical elements at least 0.125 inch inside the trim line. A larger inset can help when using scissors or a basic rotary trimmer. Narrow decorative borders are particularly unforgiving because even a small cutting shift makes one side visibly thicker than the other.
Microsoft’s guidance for edge-to-edge output follows the same production logic: extend the artwork beyond the finished boundary, add crop marks, print oversized, and trim afterward. Microsoft’s bleed instructions provide a useful general illustration of the method. For a broader preflight checklist, use the artwork and file setup guide before assembling the print sheet.
Build the sheet around the printer, not just the paper
Nine unbleeded 2.5 × 3.5-inch cards fit geometrically on US letter paper in a three-by-three arrangement: 7.5 inches across and 10.5 inches down. That calculation does not account for nonprintable margins, gutters, crop marks, feed variation, or cutting room. A printer driver that shrinks the sheet to fit can also make every card undersized.
Full-bleed card boxes change the layout. Three rows at 3.75 inches each require 11.25 inches, so they cannot fit vertically on an 8.5 × 11-inch sheet. Six cards in two rows are usually a more realistic starting point, subject to the printer’s actual printable area.
- Create the individual card at finished size plus bleed where required.
- Place cards on a letter- or A4-size sheet without rescaling them.
- Leave gutters wide enough to show crop marks and accommodate the cutting tool.
- Export a PDF when preserving page dimensions and multipage order matters.
- In the print dialog, select 100% or actual size rather than fit, shrink, or scale to printable area.
- Print one calibration sheet and measure a card before running the complete set.
Print a small ruler or known-size calibration box outside the card area. If a 2-inch test line does not measure 2 inches after printing, fix the application or driver scaling before evaluating the card design.
Choose paper your printer can feed reliably
There is no universal home-printer cardstock limit. Supported thickness, weight, coating, size, and feed path depend on the model. Printer documentation may list permitted media by weight, branded media type, or tray rather than by a simple cardstock label. Check the manual instead of assuming that any sheet sold as cardstock will feed safely.
A straight or rear feed path is generally the first option to investigate for stiffer media, if the printer provides one and its documentation permits the stock. Confirm which side receives ink, select the closest supported media setting, and test a single sheet. The media setting can change ink deposition, drying behavior, feed speed, and other printer controls.
Paper white point and surface affect the image independently of file resolution. An uncoated sheet may produce a softer-looking image and less saturated dark areas than a coated photo-oriented stock. If shadow detail is already compressed on screen, printing it on an absorbent sheet rarely improves it. The custom trading-card color management guide covers profiles, dark artwork, proofs, and substrate effects in more depth.
Treat duplex printing as a registration problem
A home printer may shift the reverse side horizontally, vertically, or slightly rotationally as it feeds the sheet again. Bleed and safe zones reduce the visual damage around each face, but they do not guarantee front-to-back registration.
Before printing a complete deck, make a test sheet with clearly labeled top, bottom, left, and right edges. Print the front, reload that same sheet using the printer’s documented orientation, and print a simple back containing a centered box. Measure the displacement. If the shift repeats consistently, compensate in the back layout. If it changes from sheet to sheet, increase the back design’s tolerance rather than chasing a precise offset.
A borderless or rotationally symmetric back hides modest registration error better than a narrow rectangular border. For casual prototypes, another practical approach is to print only the face and place it in a sleeve with an opaque backing card.
Trim and finish in a controlled sequence
Allow ink to dry according to the printer and media instructions before stacking or cutting. Trim using crop marks and a sharp blade, guillotine, or rotary trimmer. Establish one straight reference edge first, then make the remaining cuts from that edge. Cutting every card independently with scissors compounds dimensional variation.
- Print and inspect the calibration sheet.
- Allow the printed surface to dry fully.
- Cut the outer sheet to establish square reference edges.
- Trim cards to the final 2.5 × 3.5-inch dimensions.
- Compare several cards as a stack to identify size drift.
- Round corners only after the cards have reached final size.
- Sleeve the cards if handling durability and consistent shuffle feel matter.
Corner rounding improves handling, but inconsistent corner radii remain visible in a stacked deck. Lamination can add surface protection, yet it also changes thickness and stiffness and may introduce edge lift if applied or trimmed poorly. Test the complete construction on a few cards before finishing an entire set.
Do not confuse casual playtests with sanctioned cards
Home-printed cards are useful for private testing and casual play when everyone involved accepts them. They are not substitutes for genuine cards in sanctioned events. The February 27, 2026 Magic Tournament Rules require regulation-sized, genuine Magic cards publicly released by Wizards of the Coast and prohibit cards that are not Authorized Game Cards. A Head Judge may create a proxy only in limited circumstances defined by those rules; a player cannot simply bring a homemade substitute. Check the current Magic Tournament Rules before attending an event.
The practical specification
For a dependable first attempt, use a 2.5 × 3.5-inch trim size, 300 ppi artwork, 0.125-inch bleed for edge-to-edge designs, and at least a 0.125-inch safe area. Export a dimensionally stable PDF, print at actual size, and verify the first sheet with a ruler. Select stock only after checking the printer’s supported media and feed path. Most home-card failures begin with scaling, tight borders, unsupported paper, or optimistic duplex expectations—not with a lack of nominal printer resolution.